If you struggling how to install Blogger template, then this tutorial for beginners can help you get started quickly. Blogger comes with various in-built templates to use, but if you wish to add a custom Blogger template, then you need to follow some simple steps. Certainly, adding/installing a custom Blogger template is not as complicated as you might have thought. In fact, these are pretty simple steps to perform. And in this tutorial, I will guide you on how to upload and install a Blogger template without any mistake. So, let’s begin.
How to Install Blogger Template In New Version
In order to successfully install a Blogger template all you have to do is follow the following steps. And within a couple of minutes, a new Blogger template will be set up.
Step 1: Choose the Template
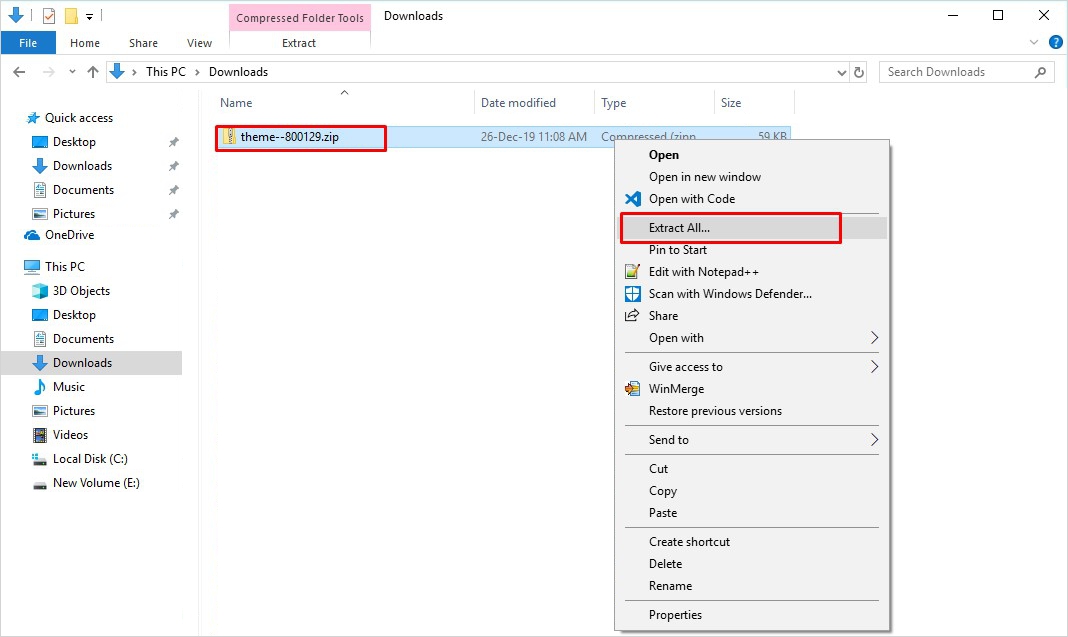
You can choose any free or premium Blogger template. There are tons of free Blogger templates available to choose from. Simply download the template package. You must have observed here that a zip folder is downloaded, just unzip it.

Step 2: Unzip the File
Now inside the extracted package, you shall see a file with .xml extension. However, it can be named anything for instance, “template.xml”. Keep in mind that the name of the template can be anything.

Step 3: Log in to Blogger Dashboard
Now you need to login to your Blogger account using your Blogger login credentials and head to the dashboard.

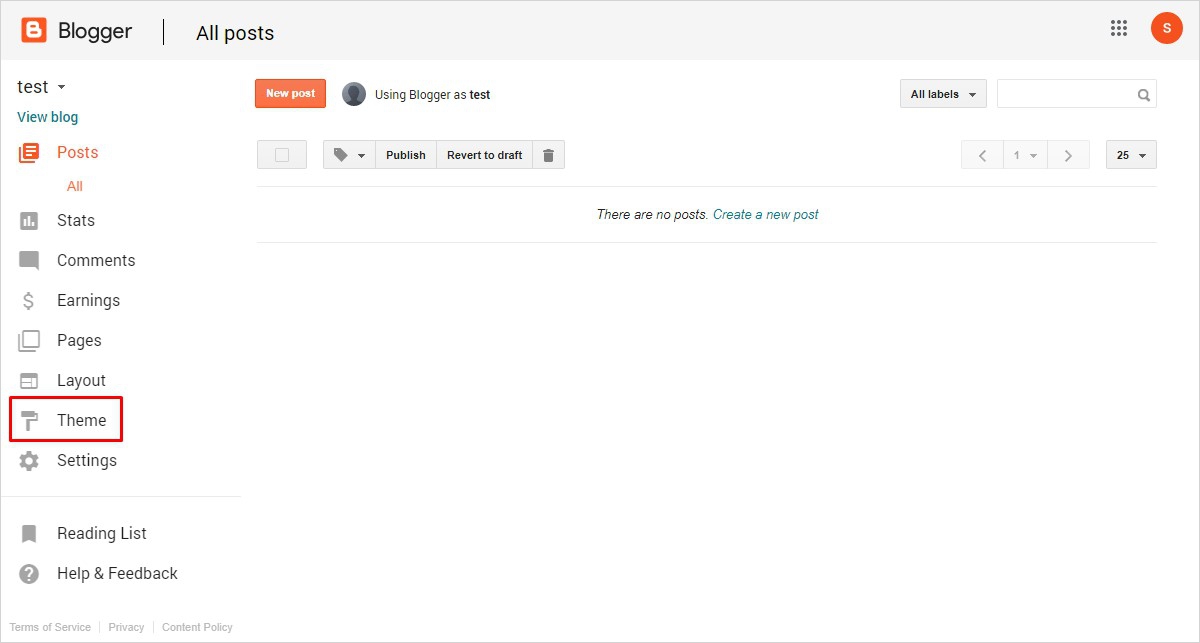
From here the menu at the left bar, click on the Theme option.

Step 4: Browsing the Template
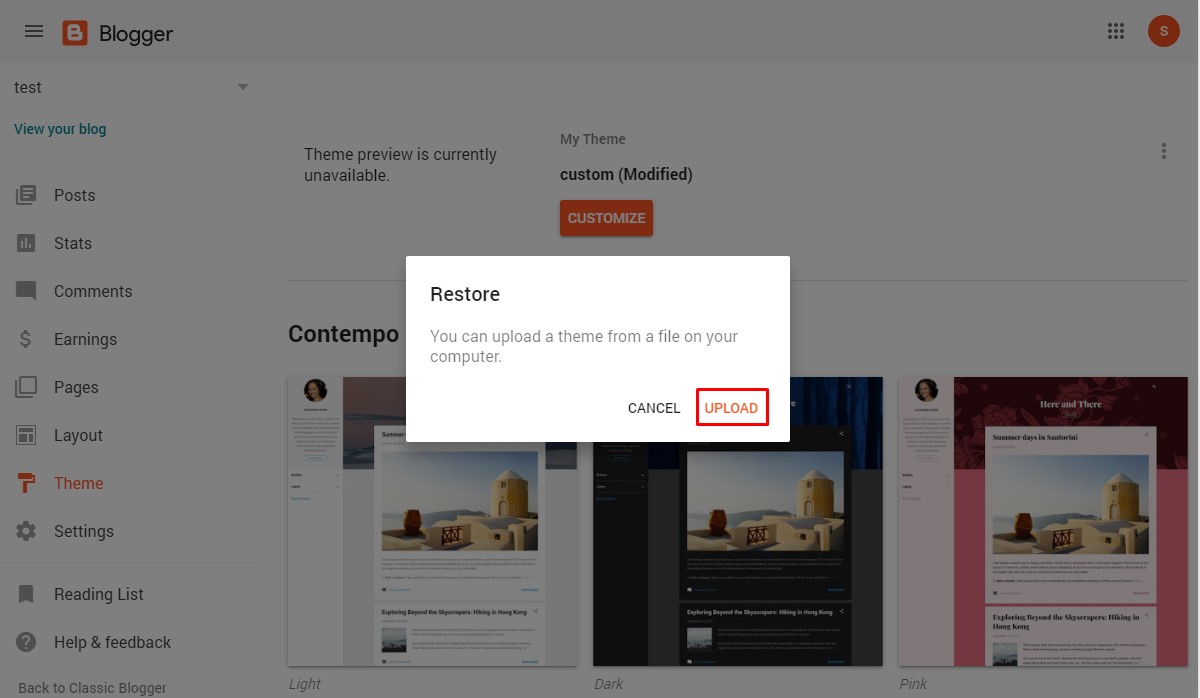
In order to browse your template, navigate to the upper right corner and click on the Ellipsis and choose the Restore option from the popup window.


And now click on the Upload button to start browsing your template from your computer. Ellipsis → Restore → Upload

Now choose your XML file like I have chosen my ‘main.xml. file here.

How to Install a Blogger Template in Old Version (Classic Blogger)
Those who are still using the previous version the Blogger can follow the below-given steps to install a Blogger template.
Step 1: Log in to Blogger Dashboard
You are required to log in to your Blogger account here. Simply go to the Blogger.com and click on the Sign In option at the right top corner.

Step 2: Upload a New Blogger Template
The very first thing in the process is to navigate to Theme option at the left sidebar menu.

Now at the extreme top right corner click on the Backup/Restore button to get ahead.

Soon after you click the button a popup window will appear as shown below. Now to install a custom Blogger template, you need to browse it by clicking on the Choose file option and select your extracted theme file with .xml extensions. And finally, click on the Upload button to confirm your choice.

Note: Make sure you take the backup of the current template so that you don’t lose any current settings while uploading the new template. Because in case anything goes wrong you will be able to restore the current template.
Voila! You have successfully installed a Blogger template.
In Conclusion
So, you have just learned how to install a Blogger template in a few simple steps. And of course, when you create a Blogger template from scratch or say you want to add a custom template to your blog. There you would need the above-given instructions to get it right. In fact, I suggest just bookmark these steps and refer to them as and when required. Because a beautiful template can give a new and fresh look to your blog. Getting started with Blogger or Blogspot is pretty simple. I assume you are able to differentiate between Blogspot vs Blogger. Because many users especially those who are not an expert on Blogger might get confused between these two terms. If you have any queries regarding the Blogger template installation, please let me know in the comments below. I will be happy to help you.
You may also like to read
No comments:
Post a Comment